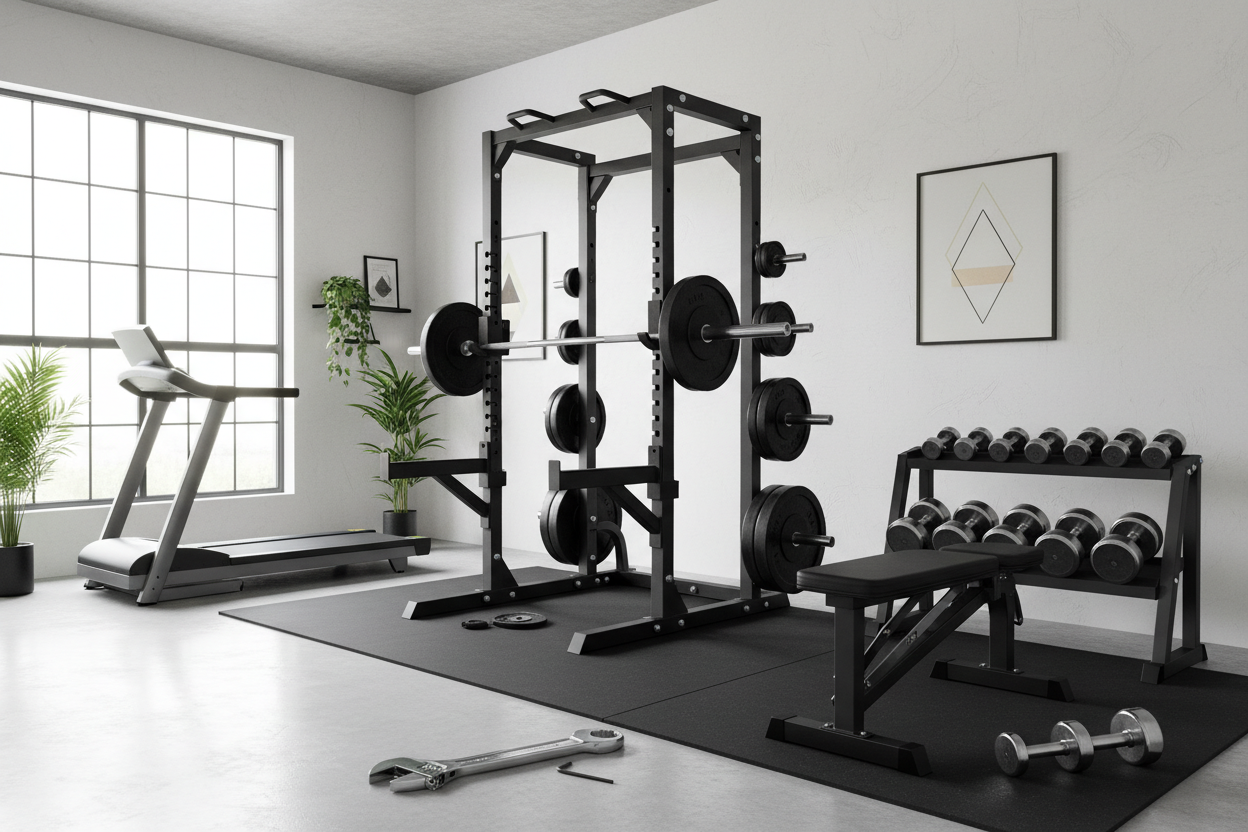
I spent six hours last Saturday wrestling with a massive steel cage in my garage, and I realized the hard way that your smith machine and tool selection is the difference between a functional gym and a pile of scrap metal. There is nothing quite like the feeling of unboxing a 400-pound shipment, only to realize the hardware pack looks like it was sourced from a toy store. I’ve been there, sweating through my shirt, swearing at a bolt that just won't catch.
Building a home gym is supposed to be the start of something better, but poor assembly can make your first workout a safety hazard. If you don't have the right smith machine tool kit ready before the delivery truck arrives, you're going to end up with rounded bolt heads and a frame that wobbles every time you try to rack a heavy bar. Trust me, I have the scars and the stripped hardware to prove it.
Quick Takeaways
- Throw away the included stamped-metal wrenches immediately; they are bolt-rounding traps.
- A 3/8-inch drive socket set with deep-well sockets is your best friend for reaching recessed nuts.
- Never fully tighten frame bolts until the guide rods are perfectly vertical and the carriage moves smoothly.
- Only use 100% silicone spray for the guide rods; WD-40 will gum up the bearings and ruin the feel.
The Tiny Wrench They Give You In the Box Is Garbage
When you finally pull your new Smith Machine out of the crate, you’ll find a little plastic bag with a 'multi-tool.' It’s a flat piece of stamped steel that’s about as thick as a nickel. Using this to tighten structural bolts is a recipe for disaster. It will slip, it will bend, and it will eventually round off the edges of your hex bolts, making them impossible to tighten or remove later.
I’ve seen guys try to build an entire rig with just that tool and a pair of pliers. Don't be that guy. These machines rely on high-tension bolts to stay stable under 300-plus pounds of load. That little wrench cannot provide the leverage needed to properly seat a nylon locking nut. If the nut isn't fully engaged with the nylon ring, your machine will start rattling within a month of use.
The Core Sockets and Wrenches You Actually Need
To do this right, you need a real toolkit. Most Smith machines use metric hardware, usually 17mm, 19mm, and 24mm. A ratcheting socket set is non-negotiable. It turns a ten-minute struggle with a single bolt into a thirty-second task. You also need a second wrench—either a box-end wrench or an adjustable crescent wrench—to hold the bolt head while you torque the nut on the other side.
If you're assembling something heavy-duty like the Full Body Multi Training Station Smith Machine Dm01, you're dealing with thick gauge steel that requires serious torque to pull the plates together. I also highly recommend a rubber mallet. Sometimes the powder coating on the steel makes the fitment tight; a few taps with a mallet will seat the uprights without chipping the finish. A set of long-handled hex keys (Allen wrenches) is also vital for the smaller set-screws found on pulley wheels and cable stops.
Squaring the Frame: The Most Skipped Assembly Step
This is where most DIYers fail. They tighten every bolt as they go. If you do that, I guarantee your guide rods will be slightly tilted. When the guide rods aren't perfectly parallel, the Smith carriage will 'pinch' as it moves up and down. It feels like the bar is catching on sandpaper. You want that bar to glide like it’s on ice.
The secret is to keep everything 'finger tight' until the entire frame is standing. Once the guide rods are in place, move the bar to the very top and tighten the top bolts. Then move the bar to the bottom and tighten the base. This ensures the rods are locked in place exactly where the carriage needs them to be. It’s a thirty-minute step that saves you years of annoying friction.
Cable Routing and Track Lubrication Tactics
If your machine has a pulley system, the routing can look like a bowl of spaghetti. This is where a specific smith machine tool like a needle-nose plier comes in handy for threading cables through tight channels. On a complex rig like the All In One Smith Machine With Cable Crossover S1 V4, cable tension is everything. If the cables are too loose, they’ll jump off the tracks. If they’re too tight, you’ll wear out the plastic coating on the wire.
And for the love of your equipment, stop using WD-40. It’s a degreaser, not a long-term lubricant. It will eventually dry out and leave a sticky residue that attracts dust and gym chalk. Use a high-quality silicone spray. Spray it on a rag first, then wipe the guide rods down. This keeps the movement silent and prevents the linear bearings from scarring the chrome rods.
Should You Just Pay Someone Else to Build It?
Assembly usually takes between three to six hours depending on your skill level and how much caffeine you’ve had. If the idea of 'squaring a frame' sounds like a nightmare, paying a pro $150 to $250 might be the best money you ever spend. However, I prefer doing it myself. When you build it, you know exactly how it works. You’ll know which bolt is loose if you hear a squeak six months from now, and you’ll have the tools on hand to fix it in five minutes.
My Personal Experience: The Bolt I Had to Drill Out
A few years ago, I was rushing through a build and used a cheap adjustable wrench that had a lot of 'slop' in the jaws. I was tightening a pivot bolt for a pec-dec attachment and the wrench slipped, rounding the bolt head into a smooth circle. I couldn't get it off, and I couldn't tighten it. I had to spend two hours with a power drill and an extractor bit to get that bolt out. It was a $2 bolt that cost me half a Saturday. Since then, I never touch a gym rig without a proper-fitting 6-point socket. Don't rush the build; the gym isn't going anywhere.
FAQ
What is the best lubricant for a Smith machine?
Always use 100% silicone spray or a dry PTFE lubricant. Avoid grease or WD-40, as they attract hair, dust, and chalk, which eventually creates a grinding paste that ruins your bearings.
How tight should the cables be?
There should be just enough tension so the weight stack pin can be inserted easily without the cable drooping. If the top plate of the weight stack is floating, the cable is too tight.
Do I need a torque wrench for assembly?
It’s not strictly necessary, but it’s helpful. Most manuals don't provide torque specs, so 'firmly hand-tight with a ratchet' is the standard. Just don't use an impact driver, or you’ll crush the steel tubing.
Share:
How to Shop a Smith Machine Sale Without Buying Total Junk
Your Mismatched Exercise Home Gym Equipment Is Ruining Your Workouts