I remember my first garage setup vividly. I had a brand new rack, a decent bar, and about 300 lbs of iron. I did what every beginner does: I pushed that rack as deep into the corner as it would go. I thought I was being efficient, preserving that precious floor space for 'activities.' Two weeks later, I was bruised, frustrated, and ready to quit training at home.
The problem with most home gyms design starts with the 'wall-hugger' instinct. We treat gym equipment like furniture, lining the perimeter of the room to keep the middle open. But a gym isn't a living room. It is a high-traffic workspace. If you cannot comfortably slide a 45-lb plate onto your barbell without hitting drywall or shimmying sideways, your layout is broken.
Quick Takeaways
- Stop pushing racks into corners; you need at least 24 inches of clearance on both sides of a barbell.
- Group equipment by 'flow'—keep your bench and dumbbells near your rack, not across the room.
- Prioritize the 'Drop Zone'—ensure your heaviest lifting happens on the most stable, level part of your floor.
- Cables need more space than you think; factor in the 'sweep' of the handles, not just the machine's footprint.
Stop Pushing All Your Gear Against the Wall
The 'wall-hugger' phenomenon is the silent killer of motivation. When you shove your power rack against a wall to maximize the middle of the room, you create a loading nightmare. An Olympic barbell is 7.2 feet long. If your rack is 4 feet wide and tucked into a corner, you have zero room to maneuver on the wall-side. I spent months scraping my knuckles against studs just to get a plate on the sleeve. It sounds minor until you are gassed after a heavy set of five and have to play Operation with a piece of cast iron.
Beyond the loading issues, pushing gear against the walls creates 'dead space' in the center of the room that rarely gets used for anything productive. You end up with a cramped perimeter and a big, empty rectangle where you just... stand? It’s a waste of square footage. Real training requires a buffer zone. You need space to fail a lift safely, space for a spotter to stand behind you, and space to breathe between sets without feeling like you are trapped in a closet.
Rethinking In Home Gym Design for Actual Lifting
When you start planning your in home gym design, you have to stop thinking about geometry and start thinking about 'workout flow.' Flow is the path you take during a session. If you are doing supersets—say, overhead press followed immediately by lateral raises—those two stations should be adjacent. You shouldn't be hiking across a 20-foot garage every time you switch exercises.
I eventually realized that my floor plan needed to be functional, not symmetrical. I grouped my heavy iron in one 'power hub.' This included the rack, the plate tree, and the adjustable bench. By consolidating these, I created a dedicated zone for high-intensity work. If you are looking to build a complete home gym setup, don't just buy the pieces and scatter them. Map out your most common movements. If you do a lot of floor work or mobility, dedicate one corner strictly to mats and foam rollers, away from the 'clank' of the heavy steel.
Why I Finally Centered My Heavy Iron
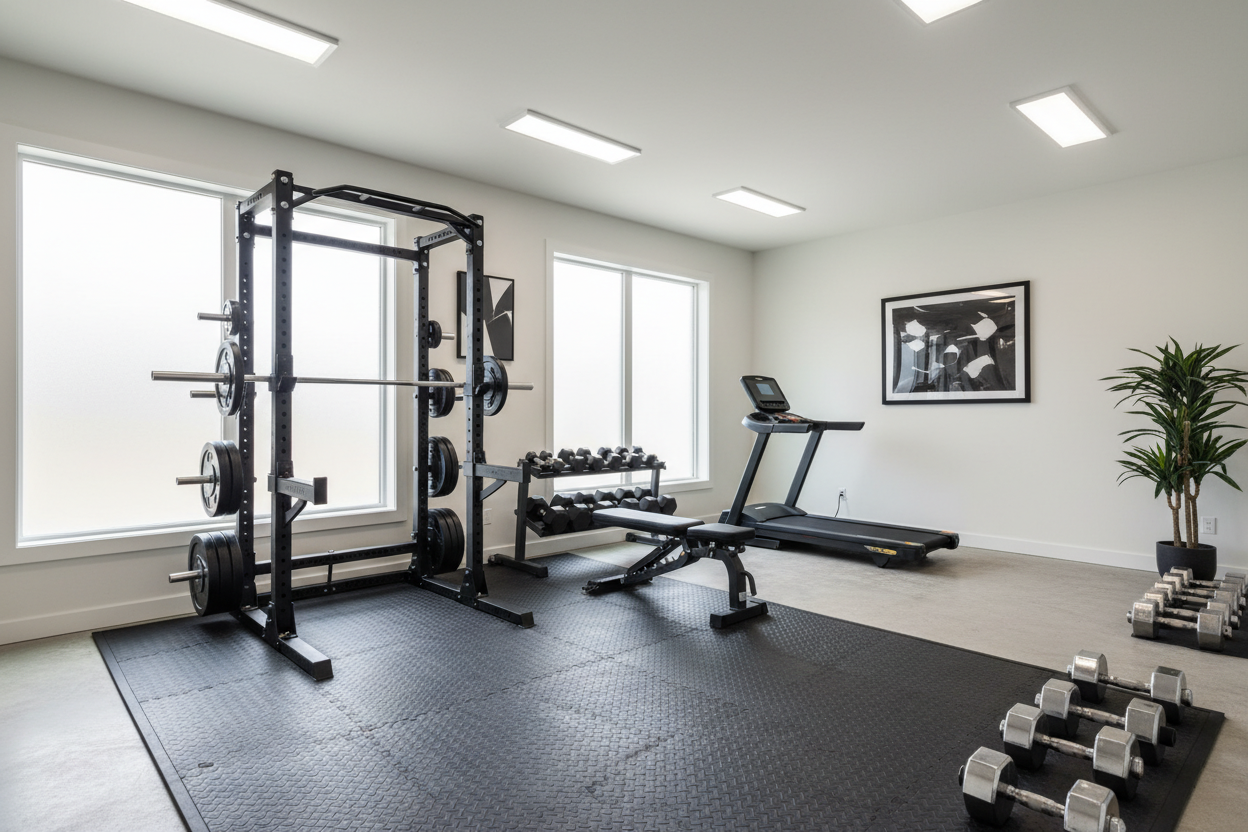
The day I moved my rack three feet away from the back wall was the day my training actually improved. Centering your main lifting station—whether it is a power rack or a Smith machine home gym station—changes the entire energy of the room. It allows for 360-degree access. I could finally load plates from both sides without doing a weird dance. I could also use the back of the rack for plate storage or attachment pegs without them being blocked by a wall.
Safety is the other big factor here. If you are squatting heavy and need to bail, you want clear space behind you. Being backed into a corner is a recipe for a trip hazard. Most racks have a footprint of roughly 48 by 50 inches, but the 'working footprint' is closer to 8 by 10 feet. Give your equipment room to breathe. You will find that you spend less time fussing with the environment and more time actually moving the weight. Plus, it makes cleaning the floor a hell of a lot easier when you don't have dust bunnies colonizing the three-inch gap between your rack and the wall.
Carving Out a Cable Zone That Actually Makes Sense
Cable machines are the trickiest part of any layout. Unlike a rack, which is mostly static, cables involve movement in every direction. If you have a dedicated lat pulldown station, you have to account for the seat, the leg brace, and the space behind it where the weight stack travels. I've seen guys put a cable tower right next to their deadlift platform, only to realize they can't do cable flyes because they'd be stepping on their barbell.
You also have to weigh the cost of an all-in-one system versus individual stations. All-in-ones save space, but they often dictate where you have to stand. If you go with separate units, angle them. Putting a functional trainer at a 45-degree angle in a corner (with clearance for the arms) is often more space-efficient than flat against a wall. Just make sure the cables don't cross into your 'drop zones.' Nothing ruins a set of rows like your cable handle snagging on the end of a nearby barbell sleeve.
Stop Worrying About How It Looks on Camera
We are all guilty of it. We scroll through social media and see these pristine, symmetrical gyms with neon lights and perfectly lined-up dumbbells. We try to replicate that Pinterest-perfect aesthetics and end up with a space that looks great but feels like a museum. If your gym is too 'perfect,' you'll be afraid to actually use it. You'll worry about scuffing the paint or moving a bench out of its designated 'photo spot.'
My gym is a mess of chalk, sweat, and mismatched mats. My rack is slightly off-center because that is where the floor is most level. My plate tree is within arm's reach of the bench because I'm lazy and don't want to walk six steps between sets. Build for your biomechanics, not for a camera lens. Your gym should be a tool, not a trophy. If a layout feels 'ugly' but allows you to hit a new PR because you aren't worried about hitting a wall, then it is a successful design.
Frequently Asked Questions
How much space do I really need for a barbell?
An Olympic bar is 86 to 87 inches long. You need a minimum of 7.5 feet of width just for the bar to exist, but realistically, you need 9 to 10 feet of total width so you can stand on either side to load plates without hitting a wall.
Can I put my gym on a second floor?
You can, but you need to check your joists. A rack, a bench, and 400 lbs of plates is a lot of concentrated weight. If you're deadlifting and dropping weight, you're going to vibrate the whole house. Stick to the garage or basement if you plan on going heavy.
What is the best flooring for a home gym?
Forget the cheap foam puzzle mats from the big box stores. They compress and slip. Go to a farm supply store and buy 3/4-inch rubber horse stall mats. They are heavy, indestructible, and much cheaper than 'fitness' branded flooring.
Share:
The Best Home Gym Under $300 Doesn't Come in a Single Box
Facebook Marketplace vs. Retail: How to Buy Gym Equipment Cheap