I spent three hours last night scrolling through industrial supply catalogs looking at linear bearings and cold-rolled steel rods. I get the itch. You want the hypertrophy benefits of a guided bar without the $2,000 price tag that usually comes with a commercial unit. But before you start sketching a diy smith machine on a greasy pizza box, we need to talk about why most of these projects end in a pile of twisted metal and a trip to the ER.
- Friction is the enemy: Hardware store pipes aren't smooth enough for fluid movement.
- Safety risks: Homemade catches often fail under heavy loads.
- Cost creep: By the time you buy quality bearings, you've spent half the cost of a real machine.
- The better path: Conversion kits offer a middle ground between DIY and commercial.
Why Everyone Thinks They Can Build a Homemade Smith Machine
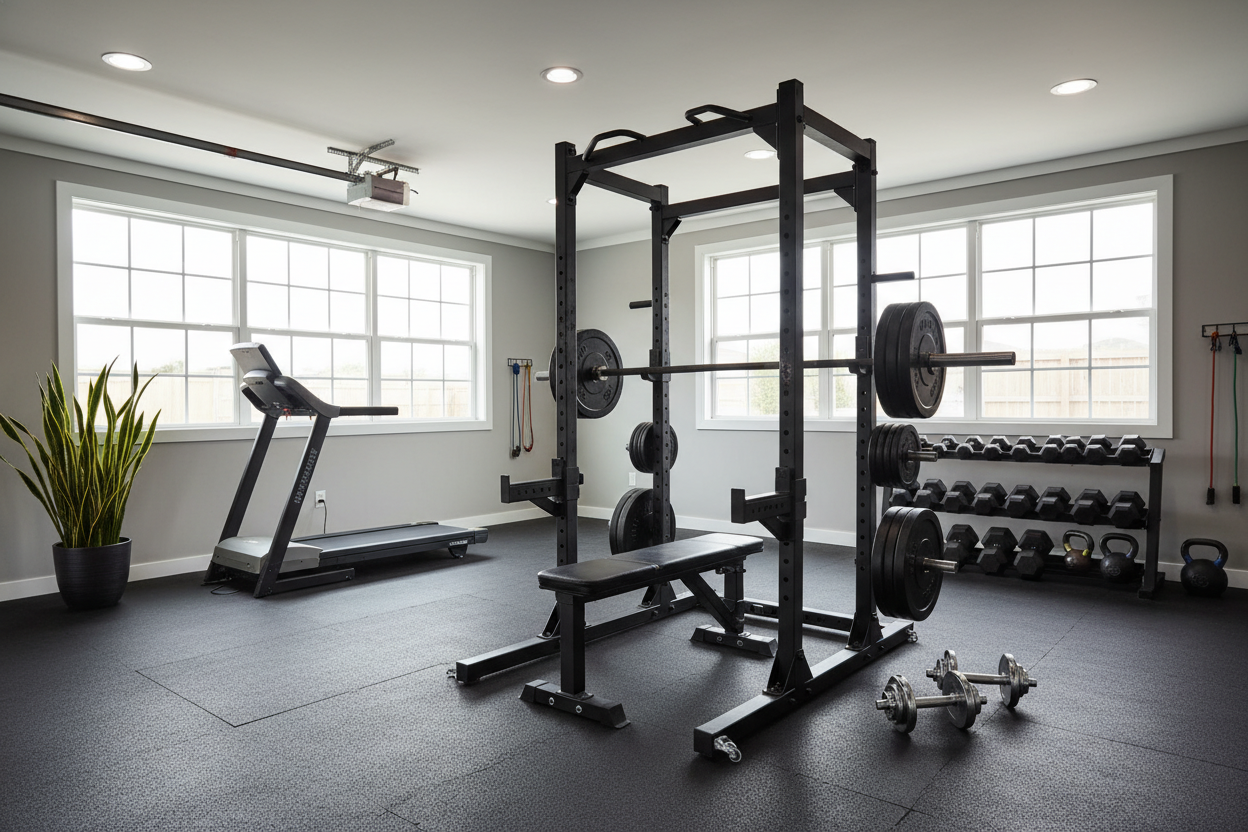
The appeal is obvious. You look at a Smith machine and see two rods and a bar. It looks simple. Most of us are working with limited garage space and even more limited budgets, so the idea of a homemade smith machine built from scraps sounds like a win. You think you'll save a thousand bucks and have a custom rig that fits your exact ceiling height.
I have seen guys try to build these using everything from 2x4s and PVC to heavy-duty drawer slides. The motivation is usually a mix of spite for high equipment prices and a genuine need for a self-spotting mechanism. But a Smith machine isn't just a bar on a track; it is a precision tool that needs to handle 300+ pounds of dynamic force without binding.
The Hardware Store Method (And Why It Usually Fails)
The most common DIY attempt involves running steel pipes through larger PVC sleeves. It feels okay when the bar is empty. But as soon as you load two plates on each side, the physics change. The bar flexes, the PVC compresses, and suddenly you have 'stick-slip' friction that makes a smooth rep impossible. It’s jerky, loud, and ruins your mind-muscle connection.
Then there is the safety aspect. A real Smith machine has integrated hooks and a secondary safety stop. Most DIY rigs rely on pins or notched wood. If you miss a rep on a heavy incline press and your homemade catch shears off, you are the one paying the price. I've seen 'industrial' drawer slides rated for 500 lbs fail because they weren't designed for the side-loading forces of a lifter struggling at the top of a squat.
A Better Way: The Smith Machine Conversion Kit
If you already own a power cage, don't reinvent the wheel. A manufactured rack attachments for Smith machine lifts is the smartest middle ground. These kits use professional-grade linear bearings and case-hardened guide rods that actually bolt into your existing uprights. You get the safety of an engineered product without the footprint of a whole new machine.
These kits solve the 'binding' issue because they are machined to tight tolerances. You aren't guessing if the bar is level; the kit ensures the carriage moves in a perfect vertical (or slightly angled) path. It’s the difference between a bar that glides and a bar that feels like it’s being dragged through wet sand.
How to Actually Turn a Squat Rack Into a Smith Machine
If you decide to turn squat rack into smith machine using a kit, precision is everything. First, you need to measure your uprights with a caliper. Is it a true 3x3 inch or a 75mm metric equivalent? Most conversion kits are picky about hole spacing—usually 2 inches or 3 inches on center.
You also need to ensure your rack is bolted to the floor. A Smith machine creates horizontal force as you push against the guide rods. If your rack is just 'floating' on horse stall mats, you might find the whole rig shifting mid-set. Check your hardware twice; use Grade 8 bolts if the kit doesn't provide them. Stability is the only thing standing between a good pump and a collapsed rack.
When to Stop Tinkering and Just Buy the Real Thing
There is a point where the DIY route becomes a money pit. If you are spending $400 on bearings, $200 on steel, and 20 hours of your life welding and grinding, you've already lost. For a few hundred dollars more, you could have a dedicated Smith machine that comes with a warranty and won't kill you.
If you are tight on space, I usually recommend an all-in-one Smith machine system. These units combine the Smith bar with a cable crossover and a squat rack. It’s a massive upgrade over a sketchy homemade rig and takes up the same 6x8 foot footprint. Stop trying to engineer a solution in your garage and start training on something that was actually tested in a lab.
Personal Experience: My 'Greased Pipe' Disaster
Years ago, I tried the greased-pipe-over-conduit trick to save money on a leg press attachment. It worked for three weeks. On the fourth week, a tiny bit of grit got into the grease. The carriage locked up while I had 300 lbs loaded, and I had to shimmy out from under it like a worm while the whole thing groaned. I sold the scrap metal and bought a real rack the next day. Don't be me.
DIY Smith Machine FAQ
Can I use PVC for Smith machine guide rods?
Absolutely not. PVC is not designed to handle the friction or the heat generated by a moving metal carriage. It will bow, crack, and eventually snap under load.
Is a DIY Smith machine safe?
Generally, no. Unless you are a professional fabricator with an understanding of shear strength and linear motion, the risks of a mechanical failure during a heavy lift are too high.
Will a conversion kit fit any rack?
Most are designed for standard 2x3 or 3x3 uprights with 5/8 or 1-inch holes. Always verify your rack's exact dimensions before buying a kit.
Share:
Why I Stopped Waiting for the Running Machine at Gym
I Dropped 300 Lbs on a Smith Machine Safety Catch. Did It Hold?